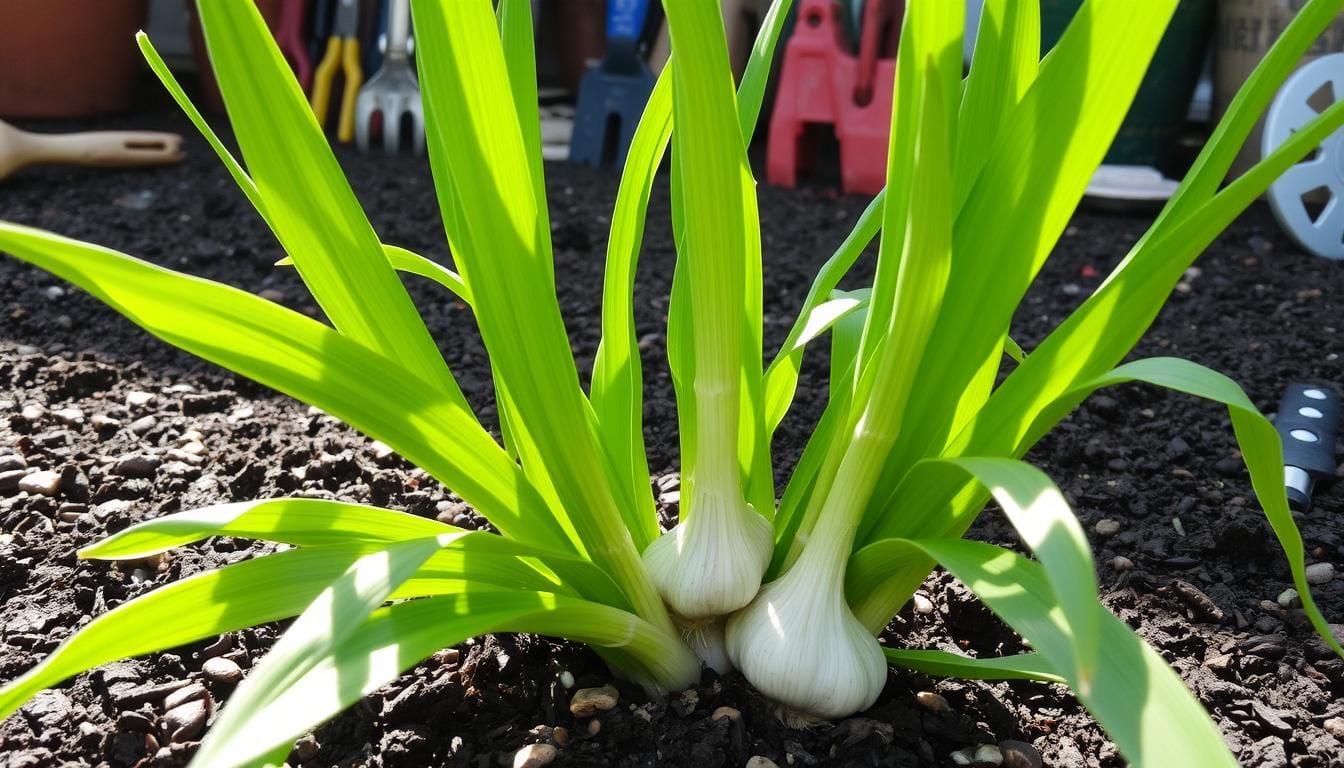
Garlic, known as Allium sativum, is a key ingredient in many dishes. It’s not just tasty; it’s also good for your health. Growing your own garlic at home can be rewarding, offering fresh and high-quality produce.
This guide is for both new and experienced gardeners. It covers everything from choosing the right garlic variety to planting, watering, and harvesting. You’ll learn how to grow a lot of garlic that will make your cooking better and taste amazing.
Key Takeaways
- Discover the unique characteristics and benefits of growing Allium sativum, the garlic plant
- Learn about the different types of garlic, including hardneck and softneck varieties
- Understand the life cycle and essential growing requirements for healthy garlic plants
- Explore the best time to plant garlic in your region and the steps to prepare your garden soil
- Discover effective water management and irrigation techniques for thriving garlic growth
Understanding the Basics of Garlic Plant Cultivation
Garlic is a versatile and flavorful plant that can thrive in home gardens. To successfully grow garlic, it’s essential to understand the different types and their unique characteristics. Garlic varieties can be broadly categorized into two main groups: hardneck and softneck.
Different Types of Garlic: Hardneck vs Softneck
Hardneck garlic, also known as Allium sativum var. ophioscorodon, is characterized by a sturdy central stalk that produces curled flower stalks, called scapes. These varieties are known for their robust, pungent flavor and are often preferred for culinary applications. Softneck garlic, on the other hand, is more commonly found in grocery stores and is Allium sativum var. sativum. These varieties lack the central stalk and tend to have a milder, more versatile flavor profile.
The Life Cycle of Garlic Plants
Garlic plants follow a distinct life cycle, beginning with the planting of individual garlic cloves in the fall. As the weather cools, the cloves will sprout roots and begin to establish themselves in the soil. During the winter months, the plants will focus on developing their leaves and bulbs underground. As spring arrives, the garlic will begin to produce tall, slender stems and eventually develop their characteristic flower stalks. Depending on the variety, the garlic will be ready for harvest in late spring or early summer.
Essential Growing Requirements
- Well-draining, nutrient-rich soil
- Full sun exposure, at least 6-8 hours per day
- Consistent moisture, especially during the early growth stages
- Mild to cool temperatures, with a preference for 55-75°F (13-24°C)
By understanding the basics of garlic cultivation, gardeners can set the stage for a bountiful and flavorful harvest. Incorporating these insights into your growing garlic practices will help ensure the success of your garlic varieties in your home garden.
Best Time to Plant Garlic in Your Region
Timing is key when growing garlic. The best planting time varies by location. Knowing when to plant ensures your garlic grows well and tastes great.
In most of the United States, the best time to plant garlic is in the fall, from October to November. This lets the garlic roots grow strong and go through a cold period. This cold period, or vernalization, is vital for bigger bulbs and better taste.
In warmer places, like the southern states, you can plant in the spring. Growing garlic in the spring might give you smaller bulbs. But, planting early in the spring, from March to April, can still yield a good harvest.
It’s important to check local planting advice, no matter where you live. Some areas need special planting times due to their unique conditions. By finding the right planting time, your garlic will thrive in your garden.
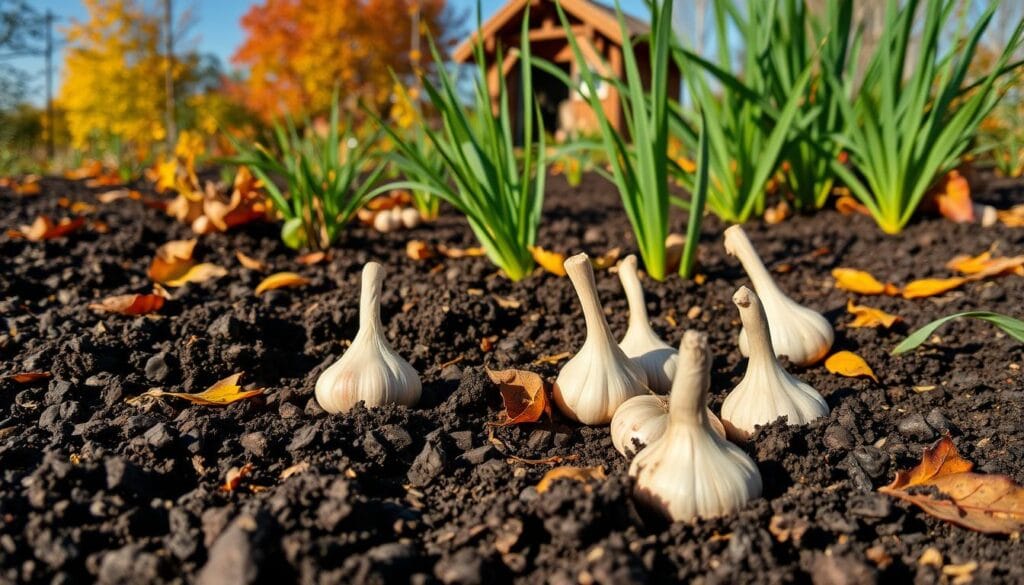
“The secret to growing delicious garlic is all in the timing. Planting at the right moment can make all the difference in the world.”
Preparing Your Garden Soil for Garlic Success
To grow a healthy garlic plant, start with the right garden soil. Knowing what garlic needs will help you create the best environment for it.
Soil pH and Nutrient Requirements
Garlic loves well-drained, slightly acidic soil with a pH of 6.0 to 7.0. It needs nutrients like nitrogen, phosphorus, and potassium. Before planting, test your soil to make sure it’s ready.
Improving Soil Drainage
Garlic doesn’t like wet soil, as it can cause root rot. To fix this, add compost or well-rotted manure to your soil. You can also use raised beds or mounds to help with drainage.
Adding Organic Matter and Amendments
- Use well-aged compost or composted bark to make your soil more fertile and hold water better.
- Mix in bone meal or rock phosphate for phosphorus.
- Add greensand or seaweed extract for potassium to help your plants grow strong.
- Put a layer of mulch, like straw or wood chips, to keep weeds away and keep moisture in.
With the right soil pH, nutrients, and drainage, you’ll get a great garlic harvest. Spend time making your soil perfect, and your garlic will grow well.
Step-by-Step Guide to Planting Garlic Cloves
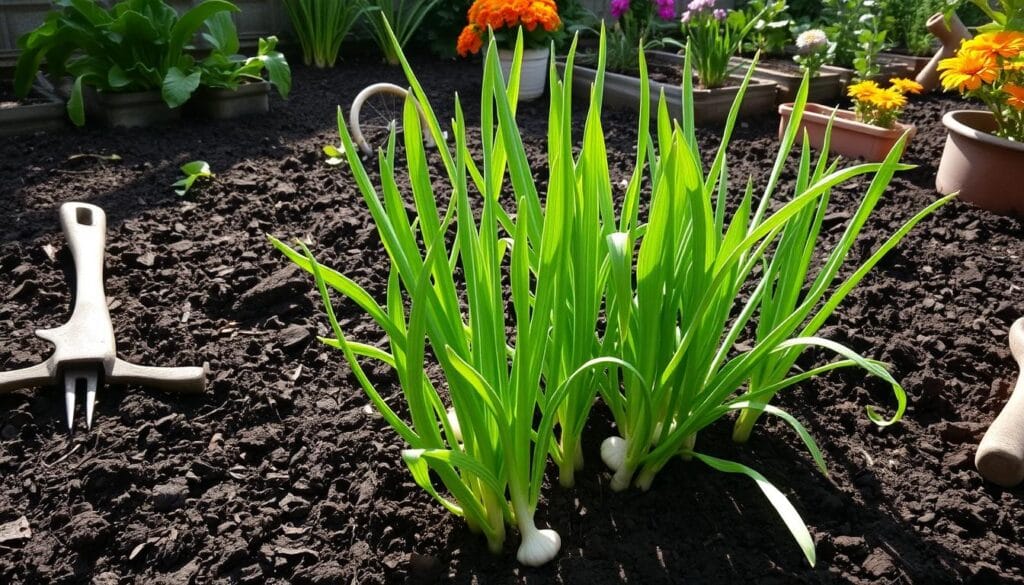
Planting garlic cloves is the first step to a great garlic planting in your garden. Follow these easy steps for a successful garlic propagation:
- Choose healthy, plump garlic cloves from your harvest or buy quality seed garlic.
- Get your garden ready by loosening the soil 8-10 inches deep. Add compost or well-rotted organic matter.
- Take the garlic cloves from the bulb, keeping the papery skin on. Throw away any damaged or small cloves.
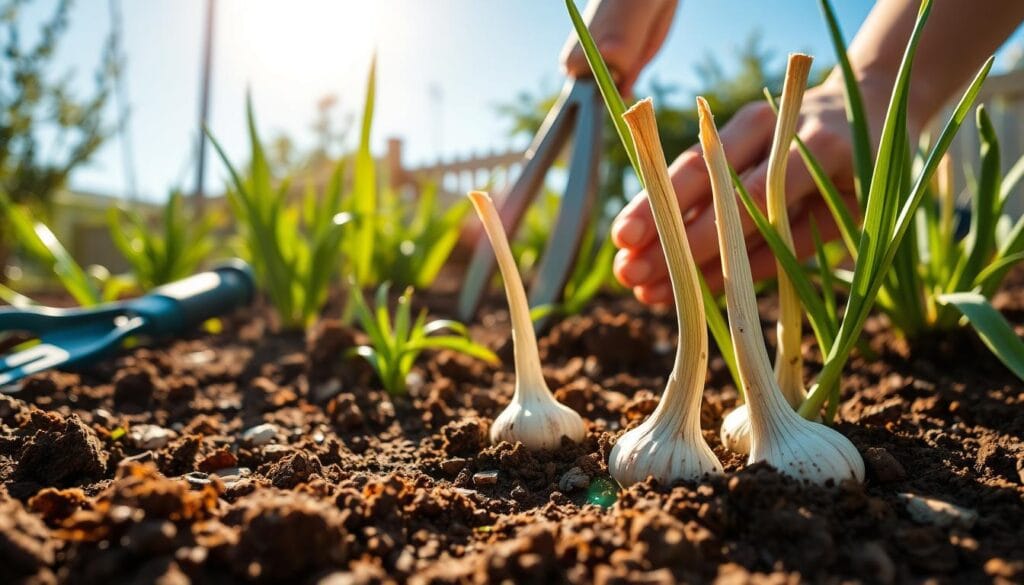
- Plant the garlic cloves with the pointed end up. Space them 4-6 inches apart and bury 2-4 inches deep, based on your soil.
- Cover the garlic cloves with soil and press the bed gently. This ensures good contact between soil and cloves.
- Put 2-4 inches of organic material like straw or shredded leaves on top. This keeps moisture in and weeds out.
By following these steps, you’re on your way to a successful garlic planting. Remember, growing garlic plants takes time. But the taste of homegrown garlic is worth the wait!
“Growing your own garlic is so rewarding – the flavor is unbeatable, and it’s incredibly easy to do.”
Water Management and Irrigation Techniques
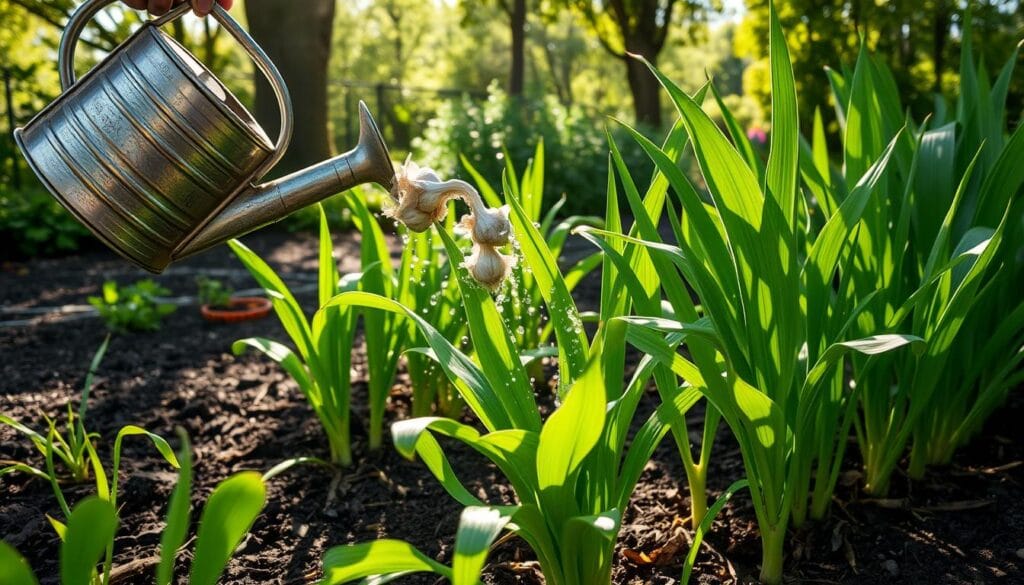
Proper water management is key for a successful garlic garden plants. The right irrigation techniques help your garlic grow well. This is important for all stages of its growth.
Watering Schedule Throughout Growing Seasons
Garlic needs different amounts of water at different times. In the early stages, they need steady moisture to grow roots. As they get bigger, they need more water for their bulbs. Later, cut back on watering to help them cure and store energy for next year.
- Early Spring: Water garlic plants 1-2 times per week to keep the soil consistently moist.
- Mid-Season: Increase watering to 2-3 times per week as the plants grow taller and the bulbs expand.
- Late Season: Decrease watering to 1 time per week to allow the garlic to mature and prepare for harvest.
Signs of Over and Under Watering
Watching your garlic plants helps you know if they’re getting enough water. Yellow or wilted leaves mean they’re thirsty. On the other hand, soggy soil and slow growth show they’re getting too much water.
| Symptom | Meaning | Recommended Action |
|---|---|---|
| Yellowing or wilting leaves | Underwatering | Increase watering frequency |
| Soggy soil and stunted growth | Overwatering | Reduce watering and improve soil drainage |
Knowing how much water your garlic plants need and spotting signs of too little or too much water is crucial. This way, your home garden can give you a big garlic harvest.
Common Pests and Diseases Affecting Garlic Plants
Growing a healthy garlic plant (Allium sativum) requires effort. Knowing about common pests and diseases is key. This knowledge helps keep your garlic plant strong from start to finish.
Pests to Watch Out For
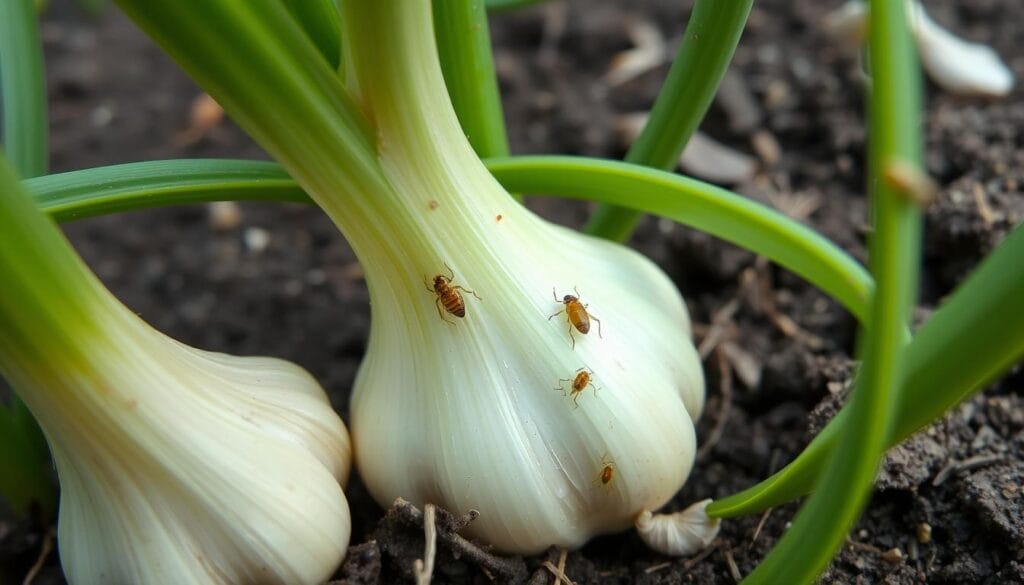
- Aphids: These small, sap-sucking insects can stunt the growth of garlic plants and spread viral diseases.
- Thrips: Tiny, slim insects that feed on the leaves and stems, causing discoloration and distortion.
- Onion Maggots: The larvae of these flies burrow into the bulbs, causing rotting and weakening the plant.
- Nematodes: Microscopic worms that attack the root system, leading to stunted growth and poor nutrient uptake.
Common Garlic Diseases
- Rust: A fungal disease that creates reddish-orange spots on the leaves, reducing photosynthesis and yielding.
- White Rot: A fungal infection that causes the roots and basal plate to decay, leading to plant collapse.
- Downy Mildew: A moisture-loving fungus that creates a fuzzy, gray growth on the leaves and stems.
- Neck Rot: A storage disease caused by a fungus that attacks the neck of the bulb, leading to decay.
To fight pests and diseases, organic gardeners use many methods. Companion planting, neem oil, and keeping soil healthy are some. By being alert and acting early, your garlic plant will grow well all season.
| Pest/Disease | Identification | Organic Control Methods |
|---|---|---|
| Aphids | Small, soft-bodied insects that feed on plant sap | Introduce beneficial insects like ladybugs, use insecticidal soap |
| Rust | Reddish-orange spots on leaves, reduced photosynthesis | Apply sulfur-based fungicides, improve air circulation |
| White Rot | Rotting roots and basal plate, plant collapse | Practice crop rotation, apply compost, avoid over-watering |
“Vigilance and proactive management are key to maintaining a healthy garlic plant garden.”
Natural Care Methods for Healthy Garlic Growth
Growing garlic is rewarding, but keeping it healthy is key. You can use organic fertilizers, companion planting, and mulching to help. These methods make sure your garlic grows well.
Organic Fertilizing Options
For your garlic, choose organic fertilizers. Compost, manure, and bone meal are great. They give nutrients without harsh chemicals. Use them before planting and during the season to help your garlic grow.
Companion Planting Benefits
Planting garlic with certain plants is good for both. For example, garlic and herbs like rosemary and chives keep pests away. This makes a better environment for your garlic.
Mulching Techniques
- Use organic mulch like straw or leaves to keep moisture in and weeds out.
- Mulch also keeps the soil warm or cool, protecting garlic roots.
- Replace the mulch often to keep it working all season.
Using these natural care methods helps your garlic grow strong. They are good for both new and experienced gardeners. With them, you can have a healthy garlic harvest.
Harvesting and Curing Your Garlic
It’s time to harvest your garlic. Knowing when to pick is key for great taste and long-lasting bulbs. Watch your plants closely, as they’re ready in 4-6 months.
Look for yellowing leaves and 4-5 green leaves left. This happens in mid-to-late summer, based on your area. Don’t pick too soon or too late, as it affects quality.
- Gently loosen the soil around the plant with a fork or trowel. Be careful not to hurt the bulbs.
- Hold the plant by the leaves and pull it out of the ground.
- Wipe off extra soil, keeping the roots and stem attached.
After picking, garlic needs to cure. Place it in a warm, airy spot like a shed or garage. Let it cure for 2-4 weeks. This dries the wrappers and shrinks the stems, protecting the garlic.
After curing, remove the stems and roots. Store your garlic in a cool, dark spot. With the right care, your garlic bulbs will last for months.
Storing and Preserving Your Garlic Harvest
After growing and harvesting your garlic bulbs, it’s key to store them right. This helps keep their quality and taste. The right storage conditions are vital.
Long-term Storage Solutions
For long storage, pick a cool, dark spot. A basement or root cellar works well. Hang the garlic in bunches or use mesh bags.
Don’t let sunlight hit the garlic. It can cause it to sprout too soon. Keep the temperature between 40°F and 60°F. Low humidity is also important. This way, your garlic can last up to six months.
Preservation Methods
There are ways to keep your garlic fresh longer. Freezing garlic cloves is a good choice. It keeps the flavor and texture.
Dehydrating garlic bulbs is another method. It lets you make garlic powder or flakes for later use. You can also make garlic-infused oils. This makes it easy to add garlic flavor to your dishes.


